Sunday, May 29, 2011

Fiberglassing the Deck


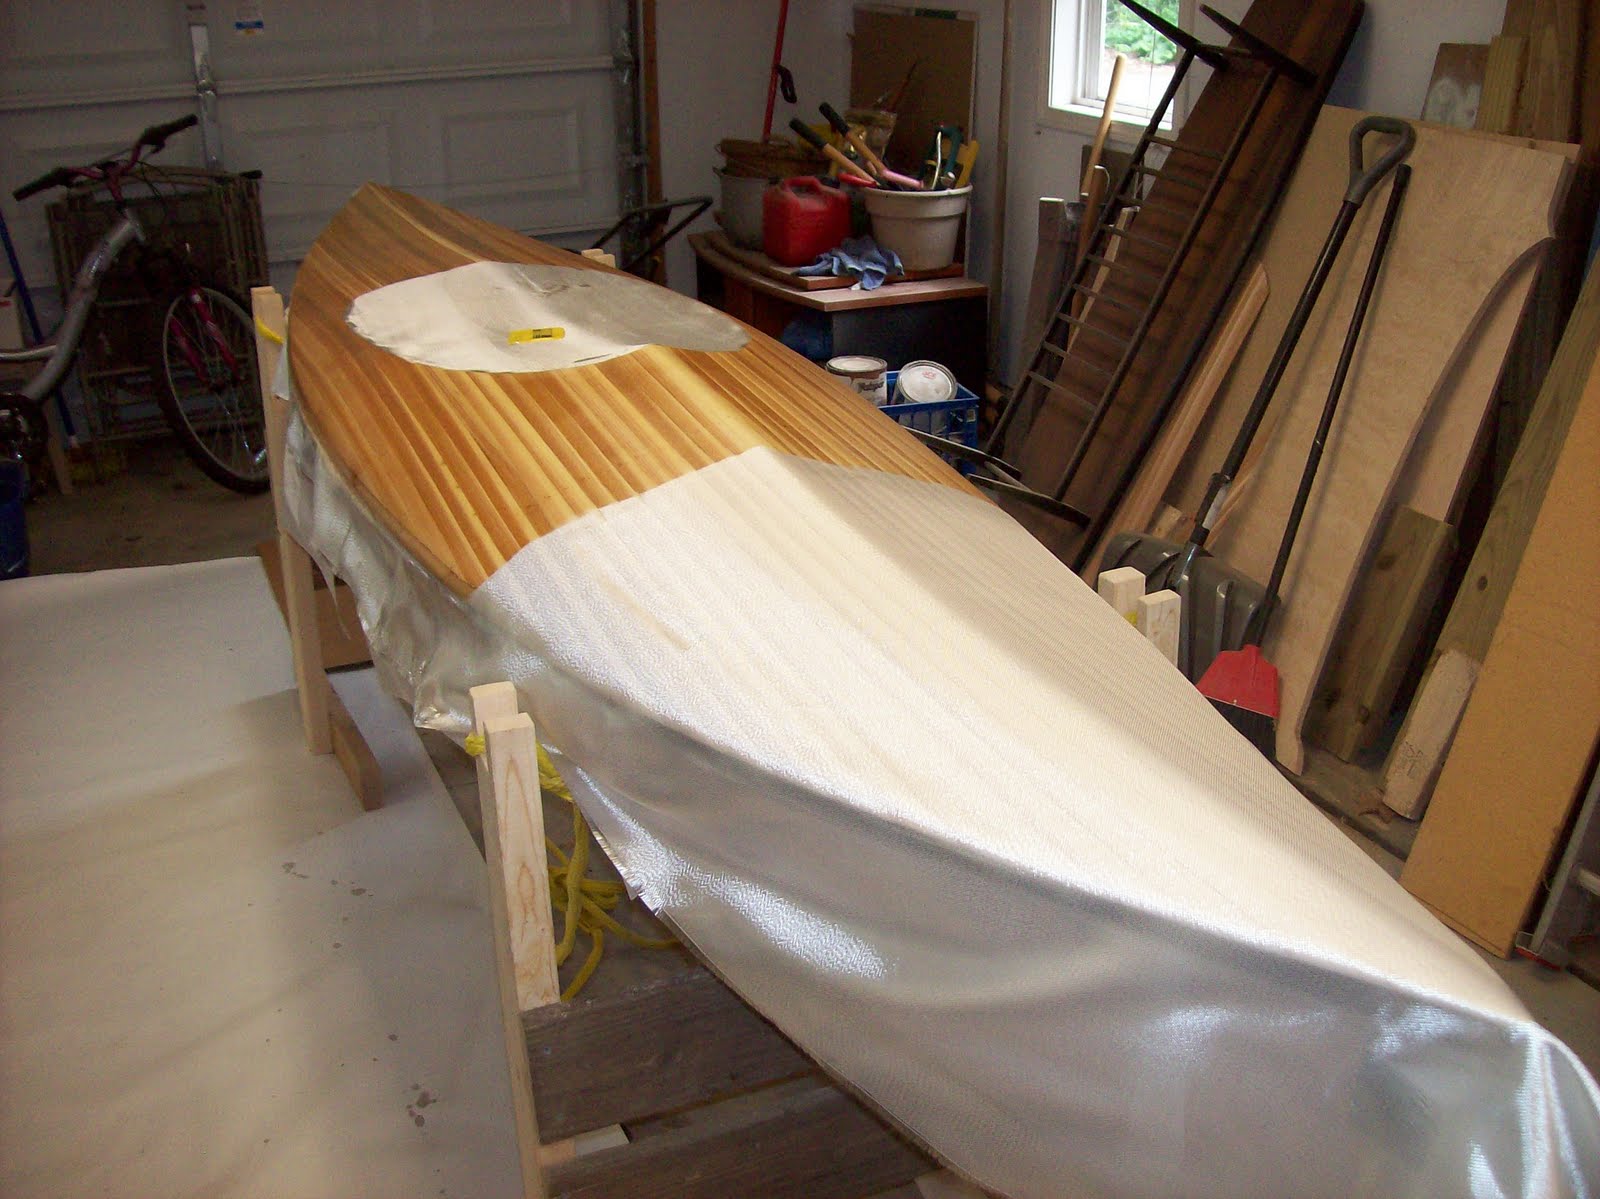
I first layed wax paper down so that I would not get any epoxy on the hull. The way I stripped the deck in, with no shear strip at the bow and stern of the kayak may cause a problem because the curve is very tight. I worked with the epoxy and fiberglass a lot as it cured to try and get the glass to lay as tight as possible on the strong curves. All-in-all it looks pretty good, and after I join the deck and hull together, I will be running a 4" strip of glass over the joint on the outside and inside of the kayak. Tomorrow I will start to work on the combing.

Sunday, May 22, 2011

Fiberglass Prep


I've been very nervous to do the fiberglassing, so I did a test piece on the cut-out of the cockpit. Turned out not to be as bad as expected. After the test worked, I rolled out my fiberglass onto the kayak and then used a paintbrush to work the cloth smooth to the kayak. The actual fiberglassing of the boat took about an hour of none stop moving. I used a slow cure hardener and had plenty of time to work. I used MAS for both my Resin and Hardener. The bow and stern are the toughest areas because you need to trim the fiberglass to overlap them. I will be putting a second coat of fiberglass there anyway so it will be fine. My fear of fiberglassing is much less now... can't wait to do the deck!

Tuesday, May 10, 2011

Back from a Winter Rest


During the winter season I wrapped the kayak to keep the shape together. I don't know if really made a difference, but it didn't hurt. The long sanding board was very helpful in the sanding the kayak. I'm currently doing a lot of sanding and think I'm close to fiberglassing. I just purchased my 4 oz. cloth from SystemThree.com Today I split the deck from the hull. It was really nerve racking, but with a little steps I got it removed. I will start with fiberglassing the hull.... hopefully next week.